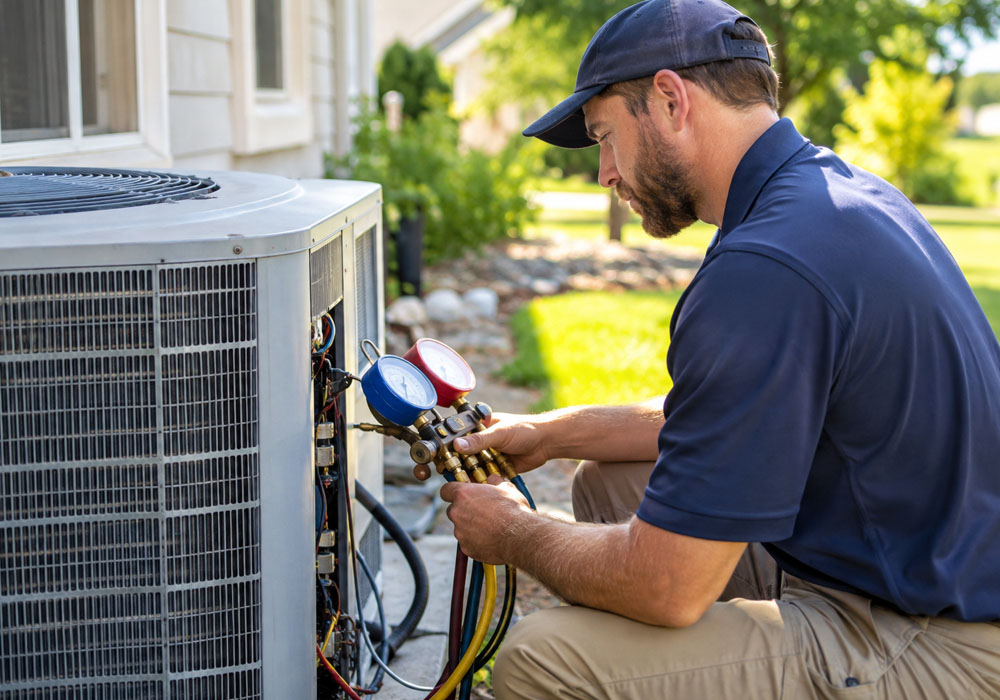
When a central air conditioner struggles in summer heat, most homeowners face the same question: is this an airflow problem I can triage, or a refrigerant-side issue that demands a licensed technician? Learning a few practical tips can protect your equipment, reduce wasted run time, and help you describe symptoms clearly when you schedule service. The distinctions below focus on the system’s major parts: the blower and ductwork; the evaporator and condenser coils; the thermostat and safety switches; and the sealed refrigerant circuit, which includes the compressor, lines, and metering device.
Early Clues: What Your Vents, Thermostat, and Outdoor Unit Are Saying
Start with what you can feel and hear. If airflow from supply vents is weak everywhere, suspect restrictions before suspecting refrigerant issues. A severely clogged filter, closed returns, or a dirty blower wheel can reduce cubic feet per minute (CFM) and force the evaporator coil below 32 degrees, causing ice to form on the suction line. If airflow is strong but the air is only slightly cooler than room temperature, the problem may lie in the refrigerant circuit, the thermostat’s settings, or a safety switch that is intermittently cutting power. At the outdoor unit, a humming compressor that will not start often points to a weak capacitor or pitted contactor, not low refrigerant.
If the signs are mixed or you see ice or water around the air handler, shut off cooling, run only the fan to thaw the coil, and avoid forcing the system. For those in North Texas who decide a professional visit is warranted, local service information is available at https://legendairtx.com/ac-repair-little-elm/. Clear notes about what you observed, such as when icing begins or whether the condenser fan runs, help a technician zero in on the cause faster.
Signs Pointing to Airflow Trouble (Filters, Ducts, Blower, Freeze-Ups)
Airflow restrictions have telltale fingerprints. A dark, debris-clogged filter, a pleated high-MERV filter that has not been changed in months, or a return grille choked with pet hair can all starve the evaporator of warm air. That drops coil temperature, creates frost, and then snowballs as ice further blocks airflow. A dirty evaporator coil, collapsed flex duct, or closed supply registers raise static pressure, which can overheat a blower motor and reduce CFM room by room. Look for low air volume at many vents, whistling returns, and a suction line that ices up near the air handler.
Two realistic scenarios highlight the pattern. After a renovation, drywall dust loads the filter and coats the blower wheel; within hours of continuous cooling, the evaporator freezes, and the float switch shuts the system down to prevent overflow. Or a homeowner closes several seldom-used room registers to “push” more air elsewhere, unknowingly increasing external static pressure and reducing total system airflow. In both cases, replace the filter, open all registers, thaw the coil with fan-only mode, and schedule coil cleaning if debris has packed the fins.
Signs Suggesting a Refrigerant Circuit Problem (Leaks, Metering, Compressor)
Refrigerant-side issues usually present as poor cooling despite healthy airflow. Supply air feels tepid even with a clean filter and strong vent velocity. The larger copper line (suction line) may be only slightly cool instead of cold and sweaty. After a thaw, frost may return first near the outdoor service valves, which can indicate low suction pressure due to a leak. You might spot oily residue at flare fittings or around Schrader valves, since refrigerant carries oil. A sticking thermostatic expansion valve (TXV) can also starve the evaporator, leading to long run times with little temperature drop.
Be cautious about look-alikes. A severely matted condenser coil can mimic a low-charge symptom by driving head pressure up and forcing the compressor to short-cycle on thermal overload. A failing dual-run capacitor can prevent the compressor from starting, even when the condenser fan runs normally. And while consumer “stop-leak” additives exist, they risk contaminating recovery equipment and clogging TXVs. Proper diagnosis requires gauges, superheat and subcooling measurements, and EPA 608-certified handling of R-410A or legacy refrigerants, so resist the urge to attach any tools to service ports.
Safe Checks You Can Do Now vs. What Requires Gauges and Training
Home-safe checks focus on airflow and power. Replace the air filter and verify the arrow faces the blower. Confirm every supply register and return grille is open and unobstructed by rugs or furniture. Inspect the secondary drain pan under the indoor coil for standing water; a tripped float switch there will cut power to protect ceilings. Outside, remove leaves and grass clippings from the condenser and keep at least 24 inches of clearance around the unit. A gentle rinse of the condenser fins with a garden hose can help, but avoid using a pressure washer and keep water away from the electrical panel.
Tasks for a licensed technician include measuring total external static pressure, adjusting blower speed taps, cleaning a plugged evaporator coil without flooding the drain pan, testing a start capacitor under load, verifying contactor integrity, and charging the system by weighing in refrigerant to manufacturer specifications. Leak detection with nitrogen, bubbles, or UV dye, and TXV diagnosis also belong on the professional side. The trade-off to keep in mind: higher-MERV filters capture smaller particles but can increase static pressure; match the filter type to the manufacturer’s specs and replace on a realistic schedule if you have pets or recent construction dust.
Preventing Repeat Breakdowns: Maintenance That Targets the Root Cause
Good maintenance maps to the failure you saw. If icing is the headline, focus on maintaining airflow: change filters every 30 to 60 days during heavy use, keep returns clear, and have both coils cleaned as needed. If a float switch saved your ceiling, flush the condensate line with a cup of distilled vinegar each month during summer and verify the drain has a consistent downward slope. If the condenser ran hot, keep vegetation away and rinse the fins gently each spring. For duct-related hot and cold spots, consider a duct inspection and sealing to stop leakage that wastes capacity.
Thermostat location matters, too. A stat mounted in direct sun or near a supply register can force short cycling, leaving deeper rooms muggy and encouraging coil icing. Relocating it to an interior wall with stable airflow often improves runtime stability. Finally, ask for documentation after service: recorded temperature split across the coil, microfarads on capacitors, and any refrigerant adjustments. Those notes create a baseline for future comparisons and help catch drifts before they become no-cool calls in August.
When a central AC falters, reading the early clues can prevent damage and shorten downtime. Weak airflow across many rooms, a darkened filter, and rapid icing point to restrictions you can safely address by changing the filter, opening registers, and thawing the coil. Strong airflow with limp cooling and oily residues hints at refrigerant-circuit trouble that requires gauges and an EPA-certified technician. Capture what you see, take simple steps that support airflow, and shut the system down if ice or standing water appears. The more precisely you separate airflow from refrigerant symptoms, the faster you will restore reliable comfort.