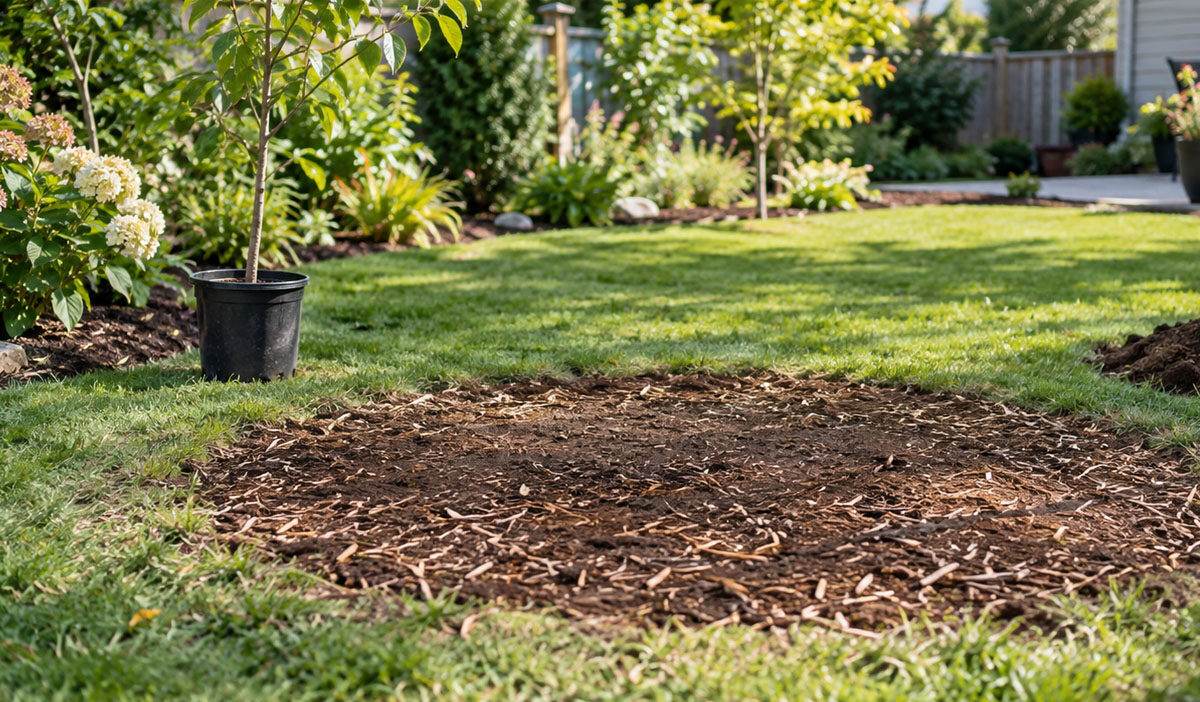
Grinding a stump removes the visible reminder of a tree, but it also leaves behind a pocket of wood chips, cut roots, and loosened soil that behaves differently from undisturbed ground. Whether you plan to return the area to lawn, plant another tree, or install a patio, what you do immediately after grinding influences how stable, fertile, and usable the site becomes. The steps below explain how to estimate the volume of grindings, choose the appropriate grinding depth, rebuild the hole with a practical mixture of chips and soil, and manage settling and regrowth so the area is ready for planting or hardscape.
1. Measure the Volume: Stump Diameter, Root Plate, and Chip Cleanup
Start by measuring the stump diameter at ground level. A wider stump and root plate will create more grindings and leave a larger cavity to rebuild. Lateral roots often extend several feet beyond the trunk, so expect chips and voids outside the original stump area. Set up a cleanup station with tarps, a wheelbarrow, and a designated spot for temporary chip storage. If you hire someone to do the work, many homeowners arrange stump grinding through a local provider. https://lufkinlogisticsinc.com/stump-grinding/ is one example. Before grinding begins, arrange utility locating services and mark sprinkler lines. Even a small stump grinder can damage shallow irrigation lines or low-voltage landscape lighting cables while working around the root flare.
2. Set the Grinding Depth for Your Next Use: Lawn, Tree, or Hardscape
Match the grinding depth to what you plan to install afterward. For a lawn, removing the stump approximately 6 to 10 inches below grade usually provides enough space for compacted backfill and several inches of topsoil. For a paver path, shed pad, or driveway extension, request deeper grinding where the root plate sits so you can remove remaining decayed material and install a stable, compacted base. Deeper grinding can also reduce the amount of remaining woody material near the surface, although some tree species may still produce shoots from surviving roots. Confirm equipment access before work begins because fences, slopes, landscaping, and narrow gates can limit how far the operator can follow lateral roots.
3. Backfilling the Hole: Chip and Soil Mix, Compaction, and Grading
Pure wood chips can settle substantially as they decompose and may temporarily affect nitrogen availability in the surrounding soil. For turf or planting areas, remove most of the grindings and replace them with mineral soil, or blend a limited amount of chips with soil so enough fine material remains for proper compaction. Add compost or quality topsoil near the surface rather than filling the entire cavity with rich organic material. Place the backfill in layers approximately 3 to 4 inches deep and compact each layer with a hand tamper or suitable compaction equipment. Shape the finished surface with a slight crown so normal settling does not leave a depression that collects water. If heavy rain is expected, consider delaying final grading or covering the area to reduce erosion before the soil has settled.
4. The First 90 Days: Managing Settling, Mushrooms, and Regrowth
Expect some settling as buried chips and cut roots decompose. Water the rebuilt area lightly after backfilling to help the soil settle, then add more soil to low areas as they develop. Mushrooms may appear during wet weather because fungi feed on buried wood. You can usually remove them by raking if they become undesirable. Watch for shoots emerging from old lateral roots, particularly with species such as poplar, willow, and locust. Cut new shoots at or near ground level as they appear. Repeated removal can gradually reduce regrowth by depleting stored energy in the remaining roots.
In a lawn situation where heavy rain exposes a shallow void, carefully lift or pull back the sod, add a properly compacted soil mixture, and reinstall the turf. Avoid filling depressions only with loose wood chips because they will keep decomposing and may cause further settling.
Replanting or Building Over the Area: Timing, Layout, and Constraints
Planting a replacement tree directly in the original stump cavity can be difficult because decomposing wood may create an uneven planting environment with changing moisture and nutrient conditions. A more practical approach is to move the new planting location several feet from the previous trunk center so the root ball sits primarily in undisturbed mineral soil. Remove excessive grindings from the new planting area, position the tree with its root flare at the appropriate grade, and backfill primarily with native soil. Apply compost near the surface as appropriate, rather than concentrating it deep in the planting hole.
If immediate planting is necessary, a smaller container tree may be easier to establish when positioned far enough from the old stump cavity to avoid unstable soil. For hardscape, remove remaining grindings from beneath the construction area and install a properly graded and compacted crushed stone base. Multiple compaction passes can reduce the likelihood of future settlement beneath pavers or slabs. If irrigation or low-voltage landscape wiring must cross the former root zone, route it carefully and consider protective sleeves where movement or future maintenance may be a concern.
Handled carefully, stump grinding is the beginning of site restoration rather than the final step. Plan for the amount of grinding debris, choose a depth that matches your intended use, rebuild the cavity with a soil-rich backfill, and expect some settling and fungal activity as the remaining wood decomposes. By positioning a replacement tree away from the softest portion of the old stump area or creating a stable base for hardscape, you can reduce future settlement, improve growing conditions, and reclaim the space as level lawn, healthy planting ground, or a durable patio.