Key Takeaways
- A heat pump should be selected using the home’s heating and cooling needs, not simply by matching the old equipment.
- Insulation, air leaks, ductwork, electrical capacity, and outdoor-unit placement can all affect comfort and project scope.
- A complete written proposal should identify equipment, labor, permits, warranties, and any possible extra work.
- Startup testing, homeowner instruction, and final documentation are important parts of a successful installation.
A heat pump installation is more than an equipment swap. The new system has to work with the home’s layout, insulation, airflow, electrical service, and local weather conditions. Taking time to review these details before signing an agreement can help prevent surprises after the work starts. See more here before scheduling the project for an overview of the installation process and available options. The goal is not to turn every homeowner into an HVAC technician. It is to make sure the contractor has measured the home, explained the recommendation, and included the necessary work in writing. A clear plan gives you a better basis for comparing proposals and asking useful questions.
Why Pre-Installation Checks Matter
A heat pump is part of a complete comfort system that includes the indoor equipment, controls, ductwork when present, electrical connections, and the building itself. Even high-efficiency equipment can underperform when it is poorly sized, incorrectly installed, or connected to restricted ducts. ENERGY STAR notes that improper installation can reduce the efficiency of heating and cooling systems by up to 30 percent, making careful planning especially important. Before choosing a model, focus on the conditions it will operate in every day. Rooms that are consistently too warm, too cold, humid, drafty, or stuffy may point to issues that new equipment alone will not solve.
What A Home Assessment Should Cover
A qualified installer should inspect more than the existing outdoor unit. A useful assessment considers the home’s square footage, floor plan, ceiling heights, number of occupants, and the use of individual rooms. Bedrooms, home offices, additions, and rooms over garages can have different comfort needs than central living areas. The assessment should also account for insulation, air leakage, window condition, window orientation, and shading. These factors influence how much heating and cooling the home needs. The contractor should inspect the current equipment, note any persistent comfort complaints, and determine whether the home has sufficient return-air pathways for steady circulation.
Outdoor Location Planning
Ask where the outdoor unit will sit and why that location was selected. It needs a stable, level base, room for service access, appropriate clearance around the unit, and a drainage plan for rainwater and normal defrost moisture. Consider nearby bedrooms, patios, neighbors, and areas where snow, leaves, or standing water could create problems.
Why System Sizing Comes First
More capacity is not automatically better. An oversized system may cycle on and off too often, while an undersized system may struggle to maintain the desired indoor temperature during demanding weather. Both situations can affect comfort and operating costs. Ask the installer how the recommended capacity was calculated. A Manual J load calculation is widely used to estimate a home’s heating and cooling requirements based on its characteristics. The proper sizing guidance from ENERGY STAR also recommends using Manual J rather than relying only on the size of the system being replaced. Request the sizing method and the proposed equipment capacity in writing.
Ductwork, Airflow, And Indoor Comfort
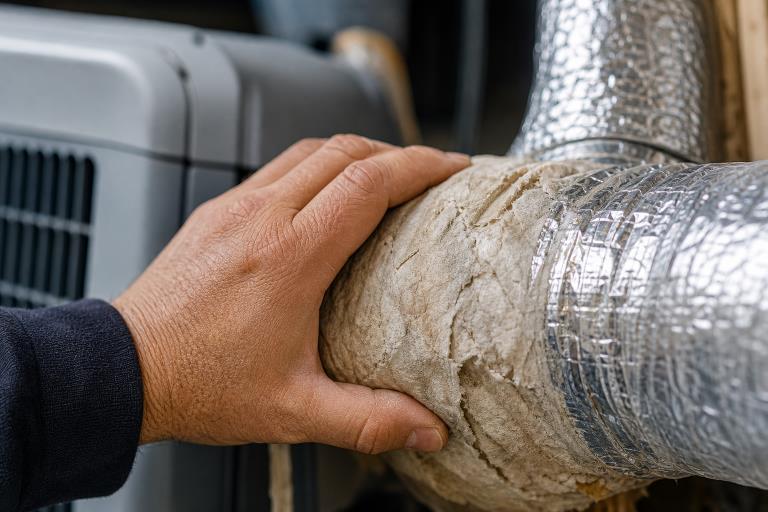
Existing ductwork may work well with a new ducted heat pump, but it should be inspected rather than assumed to be adequate. Leaks, disconnected joints, crushed flexible ducts, missing insulation, and undersized returns can limit airflow and reduce comfort. Ask the contractor to review supply and return airflow, especially in rooms with a history of temperature problems. Registers and grilles should also be considered, since restrictive or poorly located openings can affect how conditioned air reaches the room. In some homes, duct repairs, balancing adjustments, or a ductless solution for a difficult area may be more practical than adding capacity to the central system.
Electrical Requirements And Backup Heat
Heat pump installations may require a dedicated circuit, an outdoor disconnect, new wiring, or changes to the electrical panel. The scope depends on the equipment and the home’s existing electrical capacity. Have a qualified professional determine whether the panel can safely support the new load, and any added electric backup heat. Backup heat deserves a direct conversation. Some systems use electric resistance heat, while dual-fuel systems pair a heat pump with a furnace. The best approach depends on the climate, equipment performance, utility costs, and home design. Ask when backup heat is expected to operate and how the thermostat controls that changeover.
Comparing Heat Pump System Options
Heat pumps move heat rather than creating it through on-site combustion. The different heat pump system types described by the Department of Energy can help homeowners understand the basic choices:
- Ducted air-source systems: Often fit homes with usable central ductwork.
- Ductless mini-splits: Can serve homes without ducts, additions, converted spaces, or individual problem rooms.
- Multi-zone systems: Use separate indoor units to provide room-by-room temperature control.
- Dual-fuel systems: Combine a heat pump with another heating source for flexibility in colder conditions.
Questions To Ask An Installer
- How was the system size calculated?
- Will the ductwork and return-air paths be inspected or tested?
- Are the proposed indoor and outdoor components designed to operate together?
- How will the system perform during the area’s hottest and coldest weather?
- Will electrical upgrades, permits, or inspections be required?
- What startup and airflow checks will be completed?
- What equipment and labor warranties are included?
How To Review A Written Quote
Compare proposals line by line rather than focusing only on the bottom price. A complete quote should list the equipment make, model, capacity, efficiency ratings, thermostat or controls, labor, removal of old equipment, cleanup, permits, and warranty responsibilities. It should also state whether duct repairs, electrical work, pad work, or condensate drainage changes are included. Review the payment schedule, expected timeline, and change-order process. The lowest price may omit testing or needed corrections that another proposal includes. If a bid is vague, ask for clarification before approving it.
Installation Day And Final Checks
Clear access paths, move fragile belongings, and secure pets before the crew arrives. Confirm indoor and outdoor equipment locations before removal begins. If unexpected work is discovered, ask for an explanation and a written price quote before authorizing any additional costs. Before the crew leaves, confirm that the thermostat operates in both heating and cooling modes, that airflow reaches the main living areas, and that the outdoor unit is level with clear access around it. Collect model and serial numbers, warranty information, permit documents, and the final invoice. Ask where the filter is located, how to change it, and what normal sounds or defrost cycles may occur.
Maintenance After Installation
Follow the manufacturer’s filter guidance, keep vegetation and stored items away from the outdoor unit, and watch for unusual noises, weak airflow, water leaks, or frequent cycling. Schedule professional maintenance in accordance with equipment requirements and local conditions. Tracking comfort concerns by room can also help identify airflow or control issues before they become larger problems.
Final Thoughts
A successful heat pump project depends on careful assessment, correct sizing, reliable airflow, electrical planning, and a complete written scope of work. Before installation, homeowners should consider the home’s layout, insulation, existing ductwork, electrical capacity, and heating and cooling needs to determine the appropriate type and size of system. The project should also clearly identify equipment, installation work, permits, warranties, maintenance requirements, and any additional electrical or duct modifications that may be needed. When homeowners ask clear questions before installation begins, they are better positioned to understand the proposed system, compare estimates, identify potential additional costs, and choose equipment that fits their home, local climate, and daily comfort needs. Careful planning can also make the installation process more organized and provide a clearer basis for future maintenance and service.