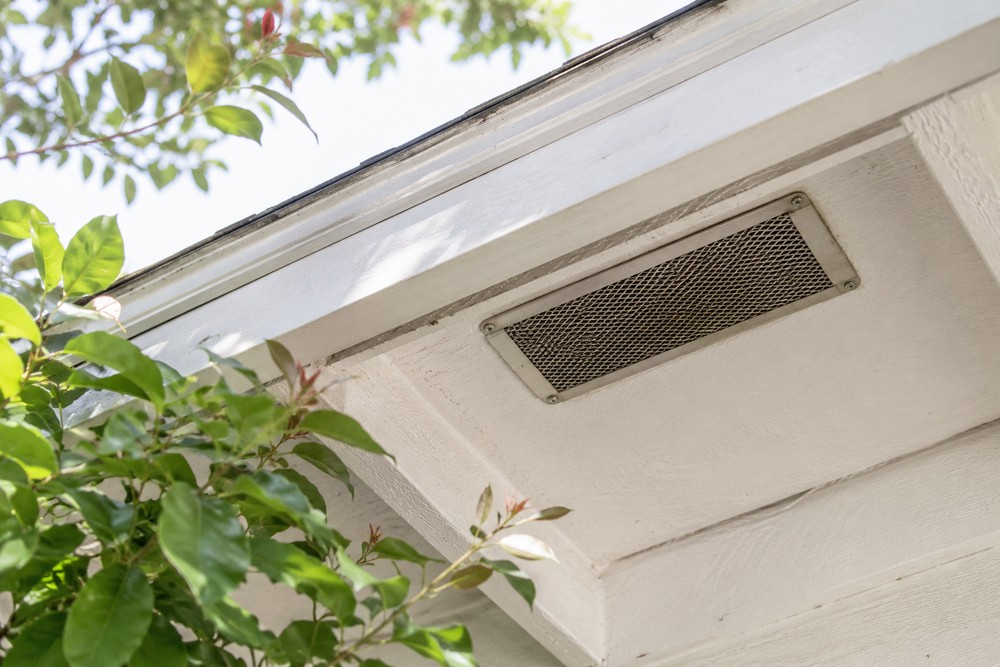
Attic and crawl-space vents help manage moisture, but unprotected openings can let wind-blown embers inside during a wildfire. A quick check well before dry conditions arrive catches damage while there’s still time to fix it. A vent that looks fine from the driveway can still have gaps that matter.
Why small openings matter before fire season
Attic and crawl-space vents have a basic job. They move air to control moisture and heat. That airflow is needed, yet the same path can admit embers and hot gases when fire is burning in the area. Choosing a vent means balancing that need for ventilation with protection against embers.
Wind-blown embers can enter attic or crawl-space openings and ignite combustible materials inside, even without flames reaching the house. Torn mesh and gaps around a frame deserve attention during a preseason check. Reducing nearby combustible material and maintaining the vents are both parts of preparing the property.
Debris stuck to a vent face can become fuel as well as a blockage. Look for leaves, needles, and other material collected against the opening. Record where debris keeps accumulating so the area can be included in routine maintenance.
Start the check before dry weather sets in
Plan the check ahead of your area’s usual dry, high-fire-risk period rather than relying on one calendar date everywhere. Local fire agencies can provide seasonal preparedness information. Leave room to order parts or book help if something looks wrong.
Most of the first pass can be done from the ground. It’s safer and still allows a clear look at many common trouble spots.
Walk the perimeter with binoculars and look at the soffit, eave and gable vents, along with foundation vents serving the crawl space. Look for bent frames, rust, gaps at the edges, and mesh that is torn or pushed in. Note any nest material or leaves packed against the face. Check that the frame sits flat against the siding or stucco with no daylight showing around it. Write down the damage and its location so nothing gets missed when it’s time for repairs.
Ask a contractor to inspect the attic side of vents that cannot be assessed from the yard. Distinguish gaps around the frame from the vent’s intended airflow openings; visible light through a designed opening does not by itself indicate damage.
What to look for in a replacement vent
When comparing replacements, look at the complete vent assembly: its intended location, dimensions, installation requirements, and ember-resistance documentation. A contractor can explain how the product fits the existing opening and how the installation will maintain the ventilation the attic or crawl space needs.
Some designs combine baffles with heat-activated intumescent material that expands under high heat. For example, BrandGuard Vents describes a system using an overlapping baffle, mesh, and an intumescent strip. Review the installation guide and technical documents for the specific model being considered, and ask your local building department which requirements apply to the project.
If an old vent is warped, corroded, loose, or missing fasteners, have a contractor assess whether it needs repair or replacement before the dry season. Ask the installer to account for the replacement’s airflow capacity, not just its outer dimensions. Keep the model details, installation paperwork, and dated photos with other home records for future checks.
When to bring in help and when to look again
Book any needed help before the local high-risk period. Ask about the inspection appointment, product availability, installation time, and any follow-up visit. The schedule will depend on the number and location of vents, access, and whether surrounding materials need repairs. An early call leaves time to address those details.
Keep dryer outlets, bath fan exhausts, and fuel-burning appliance vents separate from the attic and crawl-space vent checklist. These serve different systems and need equipment-specific attention. Have the appropriate professional assess them using the appliance manufacturer’s instructions instead of applying an attic-vent retrofit to every opening.
Share the inspection notes and photos with a qualified contractor or home-hardening specialist. Point out loose frames, split mesh, and gaps around vent edges. Ask which repairs are needed and whether any concealed areas need a closer inspection before the work is scheduled.
After a stretch of high wind, take another quick look from the ground for new damage. Leaves pile up fast, and a clean vent in spring can be half-blocked by early summer. Small shifts still matter.
If fire burned nearby, wait until officials say it’s safe to return before doing any checks. Then look from a safe location for warped metal, blistered paint, soot stains, and melted parts around each vent. Have suspected heat damage assessed by a professional using the manufacturer’s guidance.
Keep vent checks on the calendar
A ground-level preseason check can help identify visible issues before repairs become urgent. Keep the notes, arrange professional access where needed, and set a reminder to look again after strong winds. Starting early gives you time to follow through on what turns up.