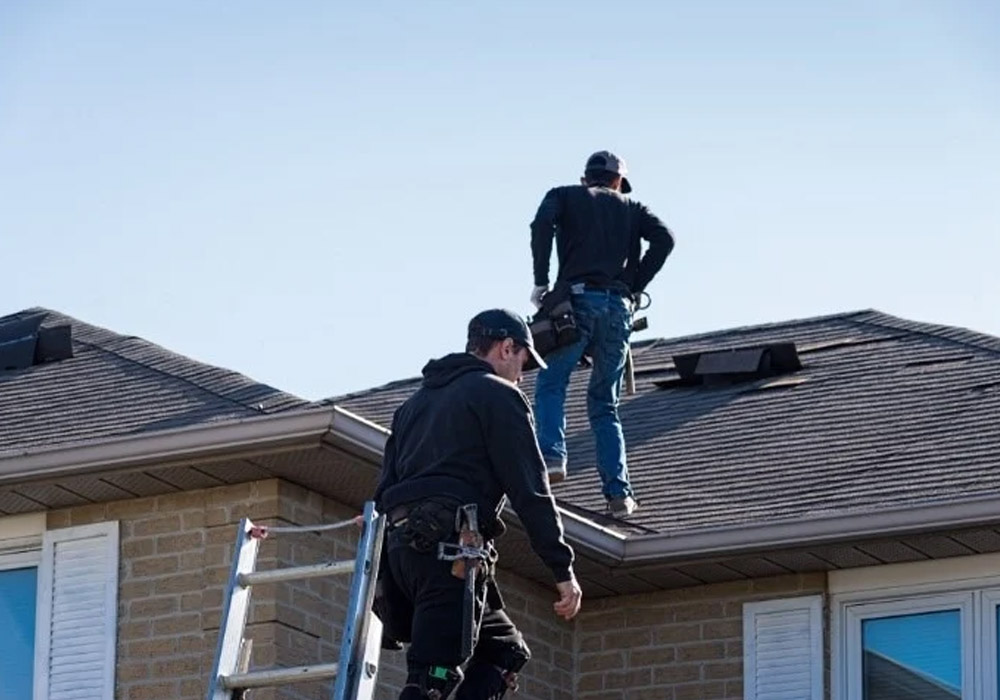
Not all roof inspections are the same. Many are just a quick look from the street, followed by a sales pitch for a new roof. This can miss small but serious problems, like cracked seals on pipes or weak metal strips (flashing) around a chimney. You might be told your roof is fine, only to find out months later that a slow, hidden leak has been damaging the wood under your shingles and your attic insulation.
The goal of a real inspection is to find problems, not just to sell you something. It’s a step-by-step process to check the condition of your whole roof, from the support beams to the shingles on top. Using a detailed professional roof inspection checklist makes sure every part is checked carefully. This helps find weak spots, guess how many years your roof has left, and give you a clear, honest report on its health.
Quick answer: A real roof inspection is a detailed check of your roof’s structure, shingles, and inside parts, like the attic. The inspector will use tools and go into the attic. It gives you a full report on the roof’s health. A poor inspection is usually a quick look from the ground meant to create a sales quote for a new roof, not to tell it’s actual condition.
What’s inside
- What Is the Difference Between an “Inspection” and a Sales Quote?
- What Tools and Techniques Should an Inspector Use?
- Which Key Areas Must Be Examised on the Exterior?
- Why Does an Inspector Need to Check the Attic?
- How Do You Read and Understand the Final Report?
- Frequently Asked Questions About Roof Inspections
────────────────────────────────────────
What Are the Real Costs of a Superficial Inspection?
A quick, sales-focused look can miss hidden problems that lead to major damage, denied insurance claims, and thousands of dollars in surprise costs. Many roofs are already well into their lifecycle before replacement, as a typical owner-occupied housing unit has a median age of 42 years, according to the U.S. Census Bureau.
The most expensive problems usually don’t start with a big, obvious leak. They begin quietly and out of sight. A small crack in a rubber seal around a pipe or a loose piece of metal flashing lets a little water get in. This moisture doesn’t just stain a ceiling. It soaks the insulation in your attic, making it less effective and raising your energy bills. Over time, it can rot the wood base of your roof, making the whole structure weak. A quick look from the ground or a fast walk on the roof will almost always miss these small but serious spots where water gets in.
Getting an “all clear” from a bad inspection can cost you a lot of money later. When you decide to sell your home, the buyer’s inspector will almost certainly do a more detailed check, including going into the attic. If they find widespread wood rot or long-term leaks you didn’t know about, you might have to pay for expensive, last-minute repairs. It could even stop the sale of your home. Also, if you file an insurance claim after a storm, the adjuster might find old damage that wasn’t fixed. They could say the problem was already there and refuse to pay, leaving you to cover the full cost.
❝ A useful guideline is the “25% rule.” If an inspection shows that more than a quarter of the roof is damaged or worn out, a full replacement is usually a better deal than many large repairs. A detailed report gives you the facts you need to make that choice.
A good inspection isn’t just a cost. It’s a tool to protect you from risk. It gives you a clear report on your home’s most important shield: the roof.
────────────────────────────────────────
What Tools and Techniques Should an Inspector Use?
A real inspector uses special tools and a step-by-step process to check your whole roof, not just their eyes.
The difference between a quick look and a real inspection is the tools and methods they use. A good inspector will do more than just walk on the roof. They should touch and gently test different parts of the roof. This includes checking if the sealant around vents and flashing is still flexible. Sealant that is hard and cracked is a common way for water to get in. They may also carefully lift a shingle to check if it’s sealed down and to see the condition of the layer underneath. These hands-on checks find problems that someone just looking at the roof would miss.
A good inspection also uses special tools to find problems. Not every inspection needs every tool, but a well-equipped professional will have them ready to look into possible issues.
| Inspection Level | Tools & Methods Used | What It Finds |
| Basic (Sales Quote) | Visual scan from ground or roof, maybe a measuring tape. | Obvious, widespread damage like missing shingles. |
| Comprehensive | Moisture meter, thermal camera, high-res photography. | Hidden water soaked into the roof’s wood, wet insulation, small hail hits, and failing seals on the flashing. |
The goal is to get real facts. For example, after a hailstorm, an inspector should mark a 10-by-10-foot “test square” on different sides of the roof to count the number and size of hail hits. This is a standard method for insurance claims. According to FEMA’s guidance on repairing roofs, good records are very important for figuring out how much damage there is. Vague notes are a red flag; you should get high-quality photos that are clearly labeled, showing every problem area.
❝ Ask any potential inspector how they record what they find. Specifically, ask if their report will include photos with date and location stamps. This is a simple step that proves when and where the photos were taken, making the report more trustworthy, especially if you need it for an insurance claim.
────────────────────────────────────────
Which Key Areas Must Be Examined on the Exterior?
A good exterior inspection looks closely at the weakest points: areas where something pokes through the roof or where the roof meets a wall. This is where 90% of leaks start.
While the main area of shingles is important, a skilled inspector spends most of their time on the details. This includes every vent pipe, chimney, skylight, and wall connection. Each of these openings needs a special metal flashing system to guide water away. For example, a plumbing vent should have a flexible rubber boot or a metal sleeve with a rain collar. An inspector should touch the boot to check for cracks and see if it’s hard. Sunlight and changing temperatures cause the material to break down over time. Just looking at it from ten feet away is not enough. EPA’s ENERGY STAR program says a cool roof can reduce roof surface temperature by up to 50°F compared with conventional roofing, which measures how heat and UV exposure can accelerate roofing material wear.
The most important areas are often the trickiest. Valleys, where two parts of the roof meet, must handle a lot of water flowing in one channel. An inspector will check for leaves and dirt that can cause water to back up and get under the shingles. They will also look at how the valley was built and check its condition. Where a roof meets a wall that goes straight up, there should be a two-part system of step flashing and counter-flashing. Step flashing is woven in with the shingles. Counter-flashing is set into the wall above it to keep water out. A problem with this system is a direct path for water into the space inside your walls.
❝ A common mistake is to see fresh sealant or caulk as a good sign. Often, it’s the opposite. It can be a red flag that a roofer put a temporary patch over a serious flashing problem instead of fixing it the right way. An inspector should ask why the sealant is there and look for the real problem underneath.
One of the most often missed but most important parts is the kick-out flashing. This small, bent piece of metal sits at the bottom of a roof-to-wall edge, right where the roof ends and water should run into the gutter. Its job is to push water away from the wall and into the gutter. Without it, water runs right down the wall, leading to rot, mold, and damaged siding. Ask your inspector to find and take a picture of the kick-out flashing. If it’s missing, it’s a major problem.
────────────────────────────────────────
Frequently Asked Questions About Roof Inspections
How much does a professional roof inspection cost? A basic visual estimate for a new roof is often free. However, a full inspection that gives you a detailed written report is a professional service that you usually pay for. The cost depends on the roof’s size, how complicated it is, and how steep it is, as well as the level of detail you need.
What should I expect on the day of the inspection? An inspector will usually start by asking you about any known problems. Then they will look at the outside from the ground. Next, they will get on the roof to do a hands-on check of the shingles and flashing. Finally, they will need to go into your attic to check the underside of the roof for leaks, rot, or poor airflow, a step that is very important. The whole process usually takes one to two hours.
What is the “25% rule” and why does it matter? This is a general guideline that says if over 25% of a roof needs repair, a full replacement is often the more cost-effective choice. The reason is that big repairs cost a lot in labor and materials, almost as much as a new roof. Also, patching large areas of new shingles onto an old, worn-out roof can lead to problems where the new and old parts meet.
Can’t I just use a drone for the inspection? Drones are great tools for a quick, safe look at a roof’s general condition, especially on very steep or delicate roofs. However, a drone cannot do the important hands-on parts of an inspection. It cannot test if sealant is flexible, lift a shingle to check the layer underneath, or feel for soft spots in the wood, which are all key to finding small but serious problems.
How often should I get my roof inspected? It’s a good idea to have a professional inspection every two to three years, and always after a major storm with hail or high winds. Regular checks let you catch small problems like cracked pipe seals or failing sealant before they become big leaks and cause expensive damage inside. Fixing problems early is much cheaper than waiting for a major leak.
────────────────────────────────────────
The Bottom Line: An Inspection Report Is a Decision-Making Tool
In the end, a roof inspection isn’t just about hiring someone. It’s about getting real facts to protect your home, which is a major investment. A quick visual estimate gives you a price, but a real inspection gives you a clear understanding of your roof’s health. The difference is the careful check of weak spots like flashing, the use of tools to find hidden moisture, and the step-by-step records that back up the findings. This detail turns a sales quote into a useful report that helps you manage risk.
When you are choosing a roofer, their inspection process is a strong sign of how professional they are. A detailed report, with high-quality photos and clear explanations for each suggestion, shows they care more about being accurate than making a quick sale. It gives you the evidence you need to compare options wisely, budget for future work, and confidently decide between a specific repair and a full replacement. The goal is not just a healthy roof, but the confidence that comes from a decision well-made.
────────────────────────────────────────
About the author
Reliable Roofing & Restoration is a family-owned roofing company based in Westminster, Colorado. Since 1997, they have provided residential and commercial roofing services across the Colorado Front Range. The company specializes in assessing and repairing storm and hail damage, helping property owners navigate the insurance claims process. As a GAF Master Elite certified contractor, their team