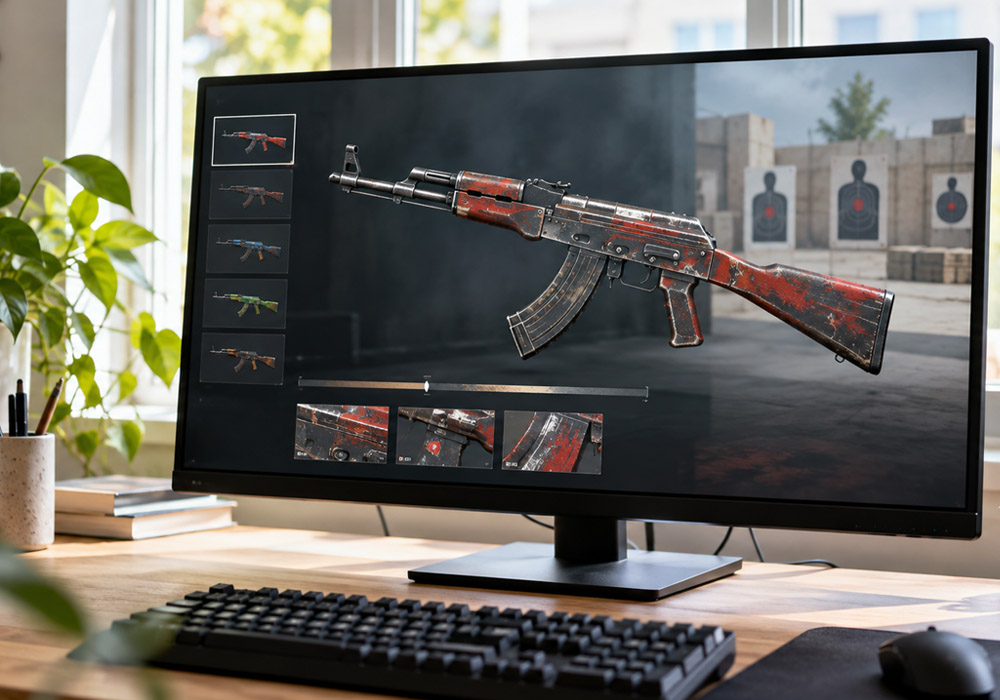
Two skins with the same name can be priced far apart, and condition explains the difference. Every skin has a wear value that decides how worn the finish looks and how much it costs. When you pick a target on a cs2 skin upgrader, its condition changes both the price you aim at and the chance the system shows.
What Condition Means for Price
What Float and Wear Mean
Every skin carries a float, a number from 0 to 1 that fixes its condition. A low float looks clean; a high float looks scuffed. The float sorts each skin into one of five wear tiers.
- Factory New covers floats up to 0.07, the cleanest and usually the priciest.
- Minimal Wear covers floats above 0.07 up to 0.15, with light marks that are hard to notice.
- Field-Tested covers floats above 0.15 up to 0.38, the most common tier and often mid-priced.
- Well-Worn covers floats above 0.38 up to 0.45, with wear visible across the finish.
- Battle-Scarred covers floats above 0.45 up to 1.00, the roughest and usually the cheapest.
Float also moves the price inside a tier. A Field-Tested skin at 0.16 looks cleaner and sells higher than one at 0.37, so two skins in the same tier are not always the same reach. At the extremes, collectors pay a premium for the lowest floats, so an unusual number can lift a target’s price beyond what its tier suggests.
How Condition Moves the Price
The same skin can cost several times more in Factory New than in Battle-Scarred. On popular skins, the spread between the top and bottom tiers can be several times the price, and on some sought-after finishes it is even wider. On any cs2 upgrader, a Factory New target is a longer reach from the same stake than a Battle-Scarred one of the same skin, because the price it must reach is higher. The jumps are not even across tiers. Factory New often carries a premium over Minimal Wear for a difference the eye can barely see, because low floats are harder to pull from cases.
Choosing a Target by Its Condition
Picking the Wear That Fits Your Stake
Aiming at a Battle-Scarred version of a skin you like is a shorter, higher-chance reach than aiming at the Factory New version. The same $10 stake that shows a comfortable chance at the worn target may show a long shot at the clean one, because the price it must reach is several times higher. If you want the skin more than the clean finish, the worn tier is the smarter target. If you want the clean look instead, you pay for it with a lower chance or a bigger stake. The skin is the same either way, so the choice comes down to how much the finish is worth to you. Dropping one tier is often the easiest way to bring a target within reach without changing the skin at all.
Condition Quirks Worth Knowing
Not every skin appears in every tier. Some finishes cap out before Factory New, so the cleanest version is Minimal Wear, which can make that tier the pricey one. Others never reach Battle-Scarred. A StatTrak version, with its kill counter, usually costs more than the plain skin at the same wear, so a StatTrak target is a longer reach than it first looks. Check the exact wear and variant before you aim, so the price on your screen lines up with what the skin sells for.
Let Condition Guide Your Target
The wear level changes how far your target is from your stake. The same skin can be easy to reach in one condition and hard in another. Decide whether you care more about getting the skin or getting a cleaner version of it, then pick the wear that fits your stake and the risk you want. On a cs2 skin upgrader, condition can change the target value substantially, so check both the skin and its wear before you choose.