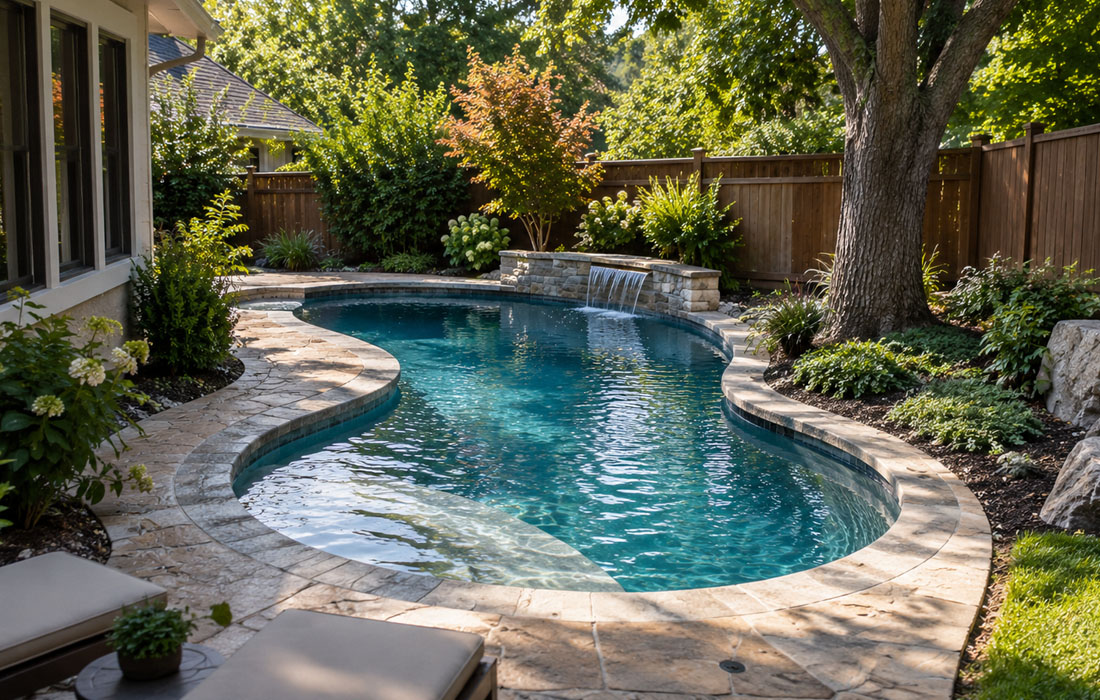
Choosing a pool is exciting, but the backyard itself should lead the design. The shape, depth profile, and even the construction method depend on measurable site realities like setbacks, utility easements, access width for excavation equipment, soil conditions, and prevailing winds. Starting with these constraints prevents costly rework and avoids compromises that are hard to live with later. Before you collect tile samples or debate saltwater chlorination, gather a survey, note grade changes, and map utilities and trees. This constraint-first approach results in a pool that fits, circulates well, and is easier to maintain over time.
Measure Setbacks, Easements, and Access Before Sketching Shapes
As you research designs for Inground Pools, mark the legal and physical boundaries that limit your buildable area. Confirm rear and side yard setbacks on your plat, and flag utility easements where water, sewer, or storm lines run. Identify septic tanks and leach fields, irrigation mains, and tree protection zones. Check access width from the street to the dig area; an excavator, dump trucks, and a concrete or shotcrete rig need clear paths, and overhead lines can constrain crane placement. If you have an HOA, note architectural review timelines so design choices align with approval windows.
Grade matters too. A quick check with a builder’s level or laser level reveals how much the yard slopes and where water naturally travels. Steeper lots may need a retaining wall, steps, or a raised beam on the pool shell, which affect coping height and fence transitions. Plan where spoil piles will go during excavation and where a temporary construction fence can stand without blocking access. Call 811 for utility locating well before digging, and capture all constraints in a simple site sketch to reference as you narrow designs.
Access Limits Influence Concrete, Fiberglass, or Vinyl Liner Builds
How equipment reaches the site can determine the construction method. Gunite or shotcrete pools are built in place with rebar and concrete, which is helpful on tight lots because materials arrive in smaller loads. Vinyl liner pools also arrive as panels and can suit sites with moderate access. Fiberglass shells require a large truck, and often a crane; narrow streets, low power lines, or tight turn radii can make this impractical or require street closures. Each method carries trade-offs in shape flexibility, surface feel, and lead times, but on constrained sites, access and staging often decide the short list.
Consider a small urban lot with a four-foot side gate and no alley. Bringing in a full-size excavator or a crane may be impossible or very costly. A compact shotcrete plunge pool with bench seating, a 5- to 6-foot-deep zone, and a simple rectangle can be built with mini excavators and concrete pumps that fit narrow access. By contrast, overhead wires and turning radius could rule out a preformed fiberglass shell, even if you love the factory finish. An early site walk with a builder avoids designing around a shell that cannot physically reach the yard.
Plan for Groundwater, Drainage, and Elevations
Soil and groundwater conditions shape the sub-base and drainage strategy. High water tables can push up on a fiberglass shell or bubble a vinyl liner if the pool is empty, while expansive clay may require over-excavation and a stabilized gravel base. Incorporate underdrains that tie to a sump pit, add a hydrostatic relief valve in the main drain on concrete pools, and ensure the deck pitches 1/8 to 1/4 inch per foot to trench drains or a daylighted discharge approved by code. These details reduce hydrostatic pressure and keep runoff away from coping joints and expansion joints.
On coastal or lakeside properties with sandy soils and seasonal high water, expect to dewater during construction using wellpoints and pumps. After completion, a discreet sump crock near the equipment pad lets you relieve groundwater during major storms. A common mistake is leaving a pool empty in rainy seasons; even concrete shells can shift, and liners can float when groundwater rises. Keep water levels appropriate per your builder’s guidance, and verify that any backwash line from the filter discharges where it will not undermine the deck or neighboring fences.
Place the Equipment Pad and Plumbing for Quiet, Efficient Circulation
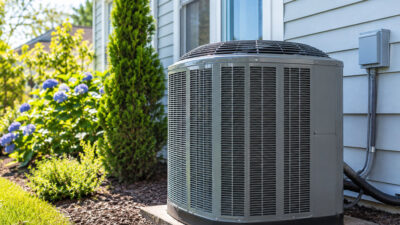
Equipment location affects noise, efficiency, and serviceability. Shorter pipe runs reduce head loss, allowing a variable speed pump to move water at lower RPMs with less energy and noise. Avoid placing the pad under bedroom windows or tight corners where sound echoes. Set heaters on a stable slab with required clearances for flue exhausts, and route gas and electric per code, with proper bonding and a GFCI-protected subpanel. Leave space for a cartridge filter or DE filter, a saltwater chlorine generator if used, and an automation controller with a reliable WiFi signal for scheduling, freeze protection, and light controls.
Circulation design is as important as pad placement. Position skimmers on the upwind side so prevailing breezes push leaves toward them, and aim return jets to create a slow, consistent flow pattern around steps and benches. Decide whether to rough in a wall suction for a suction-side cleaner or plan for a dedicated pressure-side line. An in-floor cleaning system can reduce manual vacuuming in large freeforms but adds plumbing complexity and cost; many homeowners prefer a high-quality robotic cleaner for flexibility. Place LED lights to wash across the pool, not toward the house, and locate a tanning ledge where late-day sun still warms the shallow water.
Sun, Wind, and Surface Materials Change How the Pool Feels and Ages
Sun exposure and wind patterns influence comfort and chemical demand. Full sun increases solar gain but also evaporation and chlorine consumption; a windbreak using a hedge or privacy fence can reduce heat loss and leaf load. Darker plaster or liners absorb more heat and may extend the shoulder seasons, but they tend to show scale and mottling more readily. Light finishes look bright and can keep water a bit cooler in peak summer, though they can highlight fine debris. Choose a finish that fits your climate and cleaning habits, and plan for startup chemistry that protects plaster or gelcoat surfaces.
Deck and coping materials affect safety and longevity. Saltwater chlorination is convenient, but splashes can accelerate corrosion on nearby metal and contribute to spalling in some natural stones if they are not properly sealed. Porcelain pavers or dense, well-sealed travertine with a drip edge resist damage better than softer limestones. For concrete decks, consider broom-finished, exposed aggregate, or textured overlays for wet slip resistance, and add expansion joints where they can align with coping joints. With the constraints mapped and the details coordinated, you can refine shape and features knowing they will build smoothly and perform well for years.