A solar panel upgrade starts with a review of the existing surface and structural support. The process also covers permits, electrical work, mounting points, and final inspections. Each phase follows a clear sequence to keep the project on track. Let’s discuss what homeowners in North Port can expect.
Start With a Roof Review in North Port
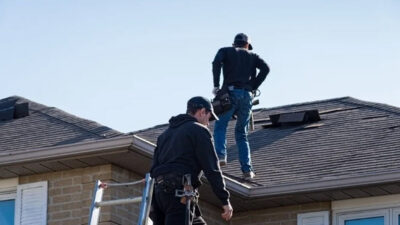
The first step is a review of the surface, deck, flashing, and supports. Homeowners who ask about solar roof benefits in North Port should first confirm that the covering can serve for years. Weak decking, worn underlayment, or cracked materials may require repair before mounts are added. This early review helps reduce the chance of panel removal for major work soon after the upgrade.
The contractor should also note pitch, shade, vents, and available space. South or west slopes may offer useful sun exposure, based on the property’s layout. Homes in North Port must also account for wind uplift and water paths near each attachment point. The review should end with a written scope that separates structural work from solar work.
Prepare the Roof and Mount System
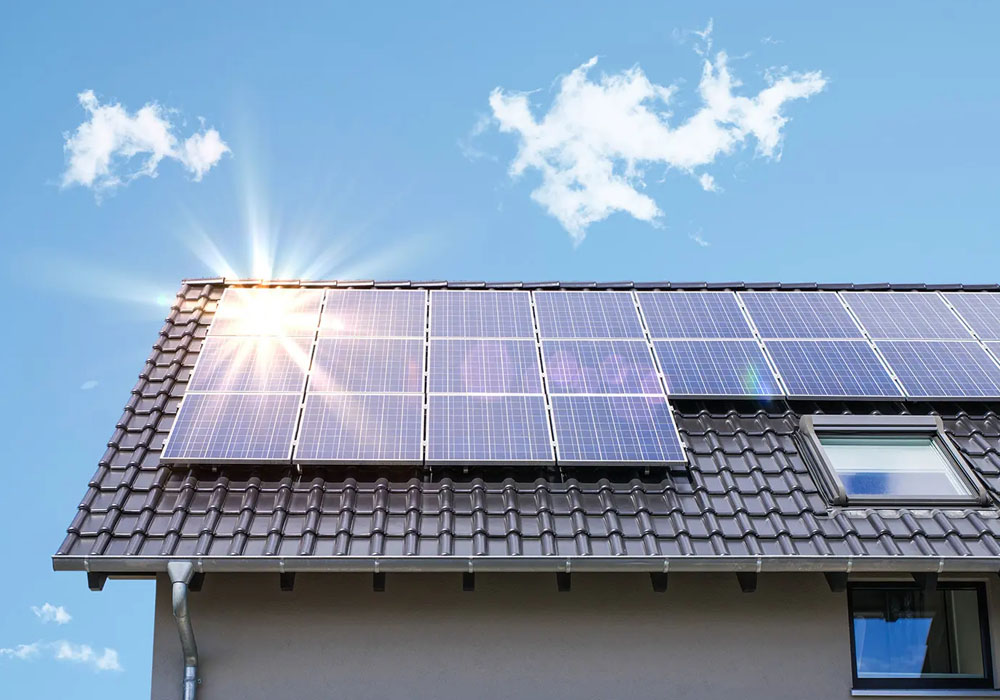
Repairs or replacement comes before rails, brackets, and panels. Crews may remove worn materials, correct soft deck areas, renew flashing, and seal weak joints. Once the surface is sound, mounts connect to structural members below the roof. Proper placement helps with load support and keeps rows straight across the slope.
What Homeowners May See on Site
The work area may include roofing materials, rails, electrical parts, safety gear, and debris containers. Access to the driveway or side yard may be limited for part of the project. Common steps include:
- Delivery of solar and construction materials
- Removal of damaged surface sections
- Placement of flashing and mounts
- Setup of rails, panels, and wiring
- Cleanup before final inspection
Complete Permits and Electrical Work
Permit plans may cover roof loads, wind resistance, panel layout, and electrical details. In North Port, local review can require changes before field work receives approval. The electrical crew then connects panels to an inverter, service equipment, and any battery system. Labels, shutoff points, and conduit should remain easy to reach.
Inspection dates can affect the schedule after work appears complete. A building inspector may check mounts, seals, and code details, while an electrical inspector reviews system connections. Utility approval may also be needed before the array can send power to the grid. These steps support safe operation and may help improve the value of solar roof benefits in North Port.
Plan for Final Checks and Roof Access
The final walk-through should explain system controls, warranties, access points, and future service. Homeowners should receive permits, plans, equipment details, and inspection records.
| Final Check | Why It Matters |
| Permit approval | Confirms the project meets local building requirements. |
| Final inspection | Verifies the structural and electrical work meets applicable codes. |
| Warranty documents | Explains coverage for materials and solar equipment. |
| System manual | Shows how to operate and monitor the solar system. |
| Access plan | Clarifies safe entry for future inspections or repairs. |
| Maintenance records | Provides a useful reference for future service and warranty claims. |
The completed system should leave drainage routes, valleys, vents, and roof edges open. Photos taken before and after the upgrade can document seals and attachment points. A sensible project closes with cleanup, approved inspections, and a future service contact. For a house in North Port, that record supports later roof checks without guesswork.