In Gresham, excavation success is won or lost before the bucket hits the ground. Frequent rain, clay-heavy soils, and tight residential lots reward careful setup: utility marking, access planning, water control, and clear grade targets. Whether you are cutting for a new foundation, trenching utilities, or rebuilding a driveway subgrade, small decisions about staging, erosion control, and compaction can prevent big delays. This article focuses on practical steps property owners and project leads can take to make excavation efficient and safe while protecting neighboring properties and public streets. If you understand how water, soil, and equipment interact on your site, you will save time, reduce rework, and hand off a clean base for concrete, utilities, or landscape crews.
Locate utilities and plan equipment access
Start by requesting a utility locate through 811, then trace any private lines that one-call may not mark, such as irrigation, low-voltage lighting, or a homeowner-installed drain. Experienced excavation contractors serving Gresham will also walk the access route and measure clear widths, gate openings, low branches, and overhead power service to size a mini excavator, tracked skid steer, and dump truck appropriately. On small lots, plan where spoils will sit on plastic sheeting and where trucks can stage without blocking a fire hydrant or driveway. For turf or pavers you want to keep, lay down plywood or composite mats to limit rutting and prevent mud from being dragged onto the street. If access is especially tight, consider partial fence removal or a smaller machine that requires more trips but less site damage.
Control rainwater and erosion before the first bucket
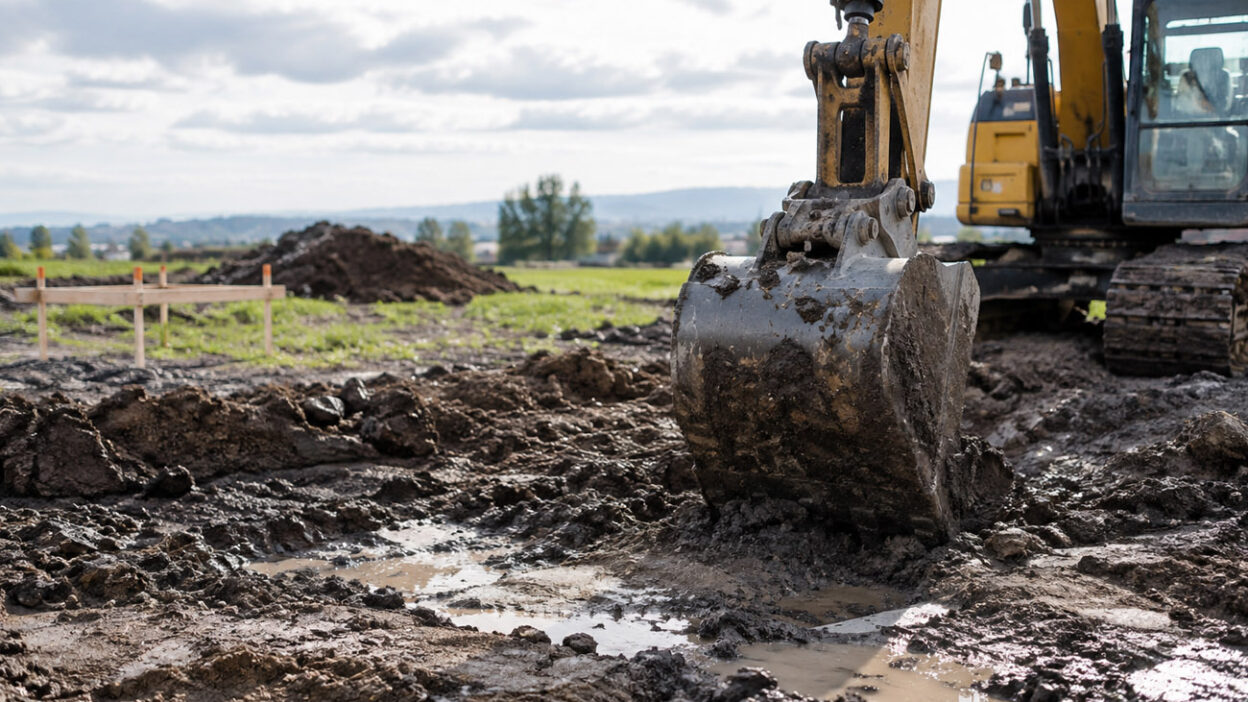
Gresham’s rain can turn a clean dig into a muddy mess if runoff and sediment are not contained. Install basic best practices before excavation: silt fence along downslope edges, straw wattles to break up flow, inlet protection at nearby catch basins, and a rock construction entrance to reduce tracking. Keep stockpiles on plastic and cover them if rain is forecast. If you expect groundwater or seepage in a trench, set a small sump and trash pump so you can dewater to a gravel area or a sediment bag, not straight onto a sidewalk or a neighbor’s yard. Wet, uncontained spoils tend to slump into trenches and clog storm drains, leading to rework and potential violations. A simple plan to divert clean water around the work area and filter dirty water will keep the subgrade stable and inspectors receptive.
1. Balance cut, fill, and haul-off to hit grade the first time
Excavation is as much about math as it is about moving dirt. Establish a benchmark and use a laser level or string lines to confirm both cut depths and finished subgrade elevations. Decide early how much native soil you can reuse and where structural fill or crushed rock will be needed. Reusing clay-rich spoils saves on hauling fees but can be difficult to compact and may retain water beneath slabs; importing angular crushed rock costs more but drains and densifies reliably. On a driveway rebuild, for example, you might over-excavate soft material, place a geotextile fabric to separate the subgrade from the base, then build back up with compacted lifts of crushed rock. A clear cut-fill balance reduces double handling and helps you hit target grades without last-minute imports.
Excavate safely and compact in thin, well-managed lifts
Open trenches and vertical cuts in wet soils can collapse with little warning. Keep people out of unprotected trenches, set spoil piles back from the edge, and use sloping, shoring, or a trench box when depths and soil conditions warrant it. As you backfill, aim for thin, uniform lifts that can be compacted with the right tool: a plate compactor for granular base and a jumping jack for cohesive soils. Check moisture content; compacting saturated clay just pumps water and leaves a spongy layer that will settle under a slab or driveway. A quick proof-roll with a loaded wheelbarrow or vehicle can reveal soft spots that can be cut out and reworked before concrete or asphalt arrives. Proper compaction is invisible when it is done right, but painfully obvious when it is not.
Time the work and protect the subgrade from the next storm
Dry-season excavation is simpler, but schedules do not always cooperate. If you must dig in wet weather, sequence tasks to open and close areas quickly, keep runoff moving around the site with temporary swales, and cover subgrades with tarps or plastic at day’s end. For a winter water-service repair across a driveway, for instance, pump and filter trench water, backfill in compacted lifts, then cap the crossing with crushed rock to shed rain until paving. Protecting the exposed grade keeps fines from migrating up into your base and prevents ruts that force over-excavation later. Maintain erosion controls until the soil is stabilized by mulch, rock, or vegetation, and leave clear access to footing bottoms or utility joints so inspections can be done without extra digging.
Excavation in Gresham rewards preparation: mark what is underground, plan how machines will enter and how spoils will leave, control rain and sediment, and compact in lifts to a verified elevation. The trade-off between reusing native soil and importing structural material is real, but you can decide with confidence when you measure moisture, observe how the material behaves under a plate or rammer, and test your base before it is covered. Ask bidders how they will handle dewatering, access, and erosion control on your specific lot. When the answers are clear and the site is ready, the digging goes faster, and the work that follows starts on solid ground.