The first quarter-hour of a plumbing emergency often determines how much water damage you will face and how quickly it can be fixed. Those minutes are not for guesswork. They are for stopping the flow, protecting people and property, and gathering details that a plumber will use to diagnose the issue. This practical checklist focuses on real actions around main shutoff valves, fixture angle stops, hose bibs, water heaters, sewer cleanouts, and electrical safety. It also shows what to avoid, such as chemical drain openers that can turn a repair into a hazardous cleanup. With a steady approach, you can stabilize the scene and be ready for fast, informed help.
Identify the Emergency and Make the First Safe Move
Decide quickly what you are facing. Pressurized supply leaks behave like spraying or pouring water from a burst supply line, a split washing machine hose, or a failed angle stop. Drain or sewer problems show up as slow fixtures that become completely backed up, gurgling, or sewage at a floor drain. If you smell gas around a water heater, leave the area and call your utility or emergency services. If it is safe and the leak is controlled, take a few photos, note where you first see water, then use your preferred method to contact Champion Plumbing to schedule a repair and relay what you observed.
Two quick examples help guide decisions. If a laundry supply hose bursts, close the washing machine’s dedicated shutoff or the nearby angle stops first, then the main if needed. If a toilet overflows, lift the tank lid, push the flapper down to stop refilling, then close the toilet’s stop valve. In both cases, stop water at the source before you spend time moving towels or gear.
Shut Off Water the Smart Way
Shutoffs work best in order. Start at a fixture or appliance valve when one is present, like a sink’s angle stop, a toilet stop, or the washing machine’s hot and cold valves. If that fails or the leak is upstream, use the main shutoff. Many homes have a ball valve with a lever in a garage, crawlspace, or utility closet, and a curb stop at the meter box. Older gate valves can stick; forcing them can snap the stem. After closing the main, open the lowest hose bib or tub faucet to relieve pressure so drips from a split line slow down.
Water heater leaks need special care. Before draining or running hot taps, cut power to an electric water heater at the breaker to prevent the elements from dry-firing. For gas models, turn the control to the off position. Do not cap a temperature-and-pressure relief valve or its discharge line. If the leak is only from that relief line, it may indicate excess pressure due to a failing pressure-reducing valve or an expansion issue. Note what you see, but leave adjustments and replacements to a professional.
Stabilize the Area and Protect Your Home
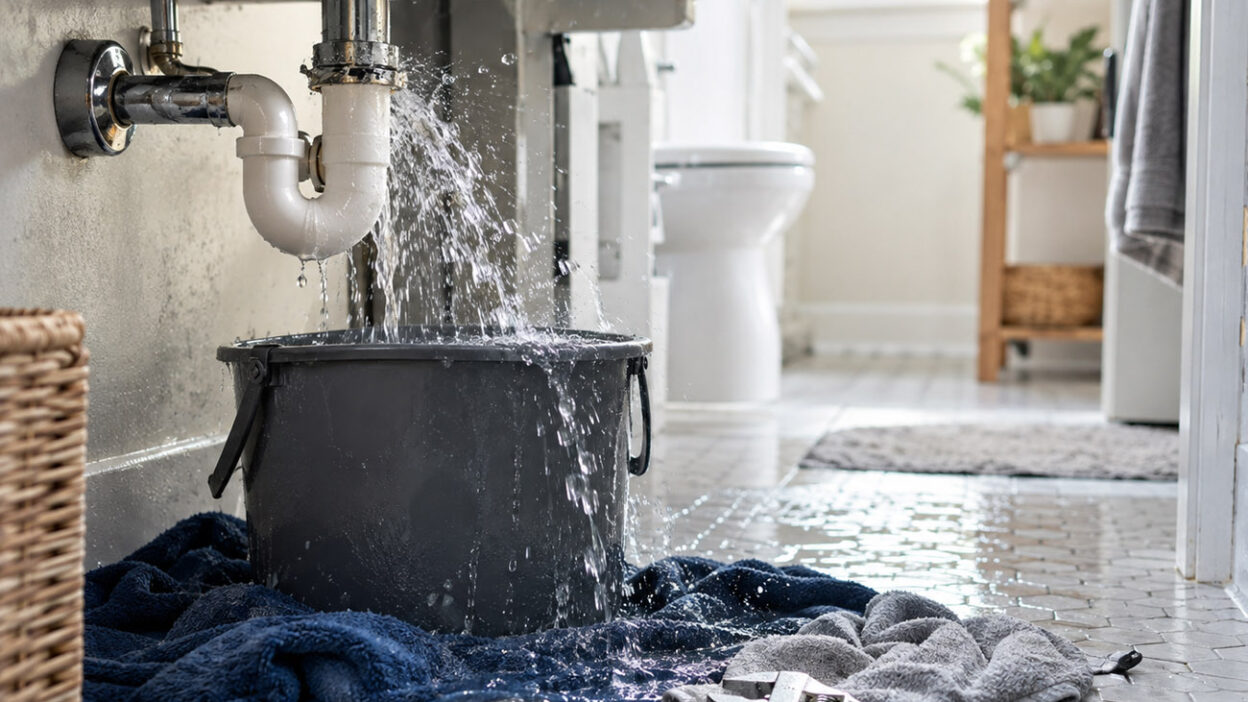
Once water is no longer actively flowing, shift to property protection. Move electronics, rugs, and boxes away from wet areas. Use buckets under slow drips, lay down towels at doorways, and set a wet or dry vac to work on standing water. Pop off cabinet toe-kicks or prop doors open under sinks to help dry the cavity. Place a pan under a steady drip to prevent water from soaking into particleboard. Be cautious around outlets and power strips; if there is standing water near them, keep your distance.
If you have a sewer backup, stop all water use in the home to avoid sending more waste into an already blocked line. Crack a window for ventilation. Close the toilet’s stop valve and keep the lid down. Wear gloves and avoid mixing cleaning chemicals while you contain the area. If your yard cleanout is accessible and the cap turns by hand, slowly loosen it while standing to the side; built-up wastewater may discharge. Do not remove a stuck cap with a wrench, as it can cause a mess and create a hazard.
Gather Details Plumbers Use to Diagnose
Good information speeds repairs. Snap photos of the leak point, the angle stop or supply line involved, and any staining at ceilings or baseboards that can show the path of water. Find model and serial numbers on the water heater rating plate and on problem fixtures like a garbage disposal or faucet. Note pipe materials you can see, such as copper, PEX, CPVC, or galvanized steel. Look for a pressure-reducing valve near the main. If you have a simple screw-on gauge, record static water pressure at a hose bib. A quick water meter spin test with all fixtures off can confirm a hidden supply leak.
Share practical access details too. Tell the plumber whether you can reach the main shutoff or if the curb stop may be needed, where your cleanout is located, and whether there is a crawlspace. Clear a path to the water heater and under-sink cabinets. There is a trade-off to keeping the main closed while you wait. It limits damage and protects walls and cabinets, but it also disables appliances, ice makers, and irrigation. If you must briefly restore water for essentials, keep someone stationed at the leak with a bucket and be ready to shut off quickly.
Common Mistakes That Complicate Repairs
Chemical drain openers seem fast, but they can corrode older piping, damage garbage disposal seals, and create a hazardous work area. Repeatedly flushing an overflowing toilet pushes more water onto the floor. Over-tightening a weeping packing nut or a stubborn gate valve can crack the stem and cause a worse leak behind the handle. Spinning off a stuck cleanout cap with a wrench often triggers a sewage surge. Turning an electric water heater back on before the tank refills ruins the heating elements. Each of these choices adds cost, cleanup, and delay to an already stressful situation.
Use the emergency as a prompt for simple prevention. Replace rubber washing machine hoses with braided stainless steel lines. Label the main shutoff and test fixture angle stops once a year to prevent them from freezing in place. Install inexpensive leak sensors under sinks, behind the refrigerator, and near the water heater. If a sewer backup occurred, ask about a camera inspection after clearing the blockage to identify root intrusion or a belly in the line. Dry damp materials thoroughly with fans and a dehumidifier, and check lower drywall and baseboards for wicking. Keep photos and receipts for any insurance claim.
Plumbing emergencies feel chaotic, but the actions are straightforward. Stop the water at the most local valve you can reach, bleed off pressure at a hose bib, and make the water heater safe by shutting power or fuel. Protect surfaces and electrical items while you document what you see. Avoid quick fixes that cause harm, like chemical drain openers or forcing old valves. Share photos, model numbers, and access notes when you call a professional, and keep the area ready for work. Those first 15 minutes set the stage for a cleaner, faster repair and a home that bounces back sooner.