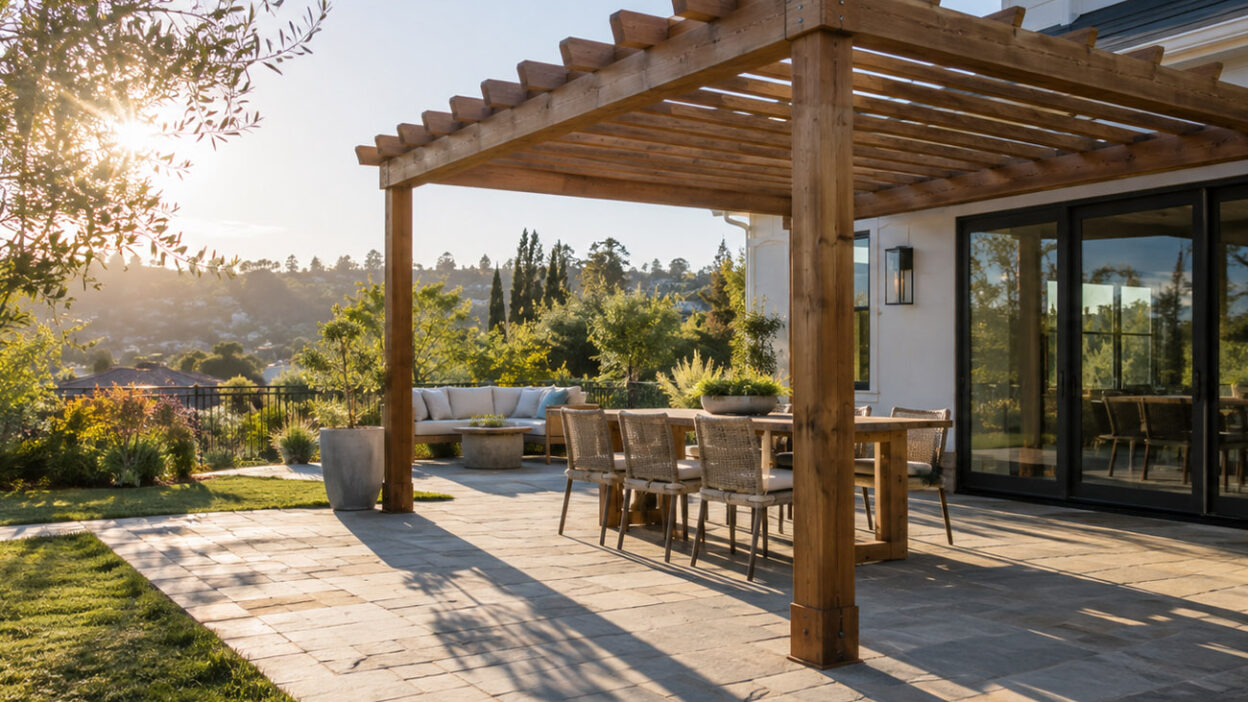
A pergola can add shade, shape outdoor rooms, and provide a frame for lighting, fans, or vines. Placement and structure matter as much as style, though. If posts crowd a walkway, footings sit in the wrong soil, or rafters run against the sun, the result will look good but function poorly. Before choosing materials or colors, decide exactly where the pergola should go, how it will be anchored to the ground or house, and how its rafters, purlins, and beams will create the shade you want throughout the seasons. The right plan will withstand local wind and winter loads while meeting code setbacks and accommodating utilities and daily use.
Map the Sun and Set the Rafters to Make Real Shade
Start with the sun path. On a west-facing patio, afternoon glare can punch straight through wide rafter gaps. Use a simple sun-tracking app or a cardboard mock-up to see how shadows land at 9 a.m., noon, and 4 p.m. in July and October. Then align rafters or louvers perpendicular to the strongest sun for deeper shade, and adjust rafter spacing or add top purlins to tighten the pattern. If you are modeling options or weighing materials, conversations with experienced pergola builders can help translate your shade goals into rafter orientation, louver settings, or shade-cloth density without overbuilding.
Two quick examples illustrate why orientation matters. On a west-facing deck that bakes after work, rotate the rafters so their tall faces block the low evening sun, and consider a vertical privacy screen along the windward side. In a chilly-climate courtyard that needs winter warmth, run rafters north-south so the lower winter sun slips through, then stretch a UV-rated shade cloth in summer to tighten shade when the sun is high.
Clearances, Utilities, and Setbacks Come First
Before staking post locations, confirm what lies above and below. Call your utility locate service to mark gas, electric, and data lines, and avoid placing posts over a septic tank, leach field, or cleanout. Check local setbacks from property lines and easements; side-yard limits can push a post line several feet inward. Look up overhead service lines and measure door and window swings to ensure posts do not block egress. Maintain safe clearance from grills and chimneys, and leave at least a shoulder-wide passage around dining tables so chairs can pull back without hitting a post base.
A common mistake is sketching a 12-by-12 footprint inside a 12-by-12 patio without accounting for post bases, stair landings, or a required egress path. That oversight can force a last-minute redesign or, worse, a tear-out if you cross a setback. If you live in an HOA, verify height caps and finish requirements before ordering materials. Capture these constraints on a scaled plan showing property lines, existing concrete, and any door arcs, so you can realistically test post locations with strings or stakes.
Attached or Freestanding: Water and Loads Decide
Attaching a pergola to the house with a ledger reduces the number of posts, but only when conditions allow it. A ledger needs a sound rim joist or structural framing behind the siding, with through-bolts, not lag screws in the sheathing alone. Proper flashing under the siding layer is essential to shed water, and brick veneer or stucco complicates safe attachment. If the house wall cannot carry the load or you cannot integrate flashing cleanly, a freestanding pergola with four posts is safer and often simpler to permit.
Freestanding structures transfer all loads to footings, so plan post bases sized for the local frost depth and soil bearing capacity. On an existing deck, avoid surface-only post brackets; instead, frame new posts through the decking and tie them to dedicated footings or beefed-up framing with blocking and structural connectors. The trade-off is clear: attached designs save materials and feel integrated, while freestanding designs isolate water risk and perform better on houses with complex cladding. In coastal or high-wind zones, a freestanding pergola with robust knee bracing and uplift anchors often outperforms a marginal ledger detail.
Span, Post Spacing, and Hardware Control Rigidity
A pergola’s stiffness comes from the relationship between beam size, rafter depth, post spacing, and connectors. Overspanning a beam creates midspan sag and rattling rafters. As a rule of thumb, deeper beams and shorter post spacing reduce deflection; for example, pairing doubled 2×8 or 2×10 beams with 6×6 posts at shorter intervals resists bounce better than single 2x6s stretching too far. Aluminum systems use engineered extrusions to span longer distances with less mass, while wood systems benefit from knee braces that triangulate the beam to the post. Top purlins oriented perpendicular to rafters also stiffen the lattice and sharpen shade lines.
Picture a 12-by-16 patio. Set posts at 8-foot centers rather than pushing them to the corners, use structural post bases anchored to concrete, and add diagonal bracing near the corners to limit racking in gusts. Space rafters at 12 to 16 inches on center for a tight grid, then add 1×3 or 2×2 purlins across the top if you want denser shade without the weight of a solid roof. Choose hardware rated for exterior use, and in salt air, go with hot-dip galvanized or stainless fasteners. The difference shows up on the first windy night when the pergola stays quiet and square rather than buzzing and twisting.
Footings, Surfaces, Drainage, and Long-Term Upkeep
Anchoring depends on the surface. On a concrete slab, drill holes for mechanical wedge anchors sized to the post base, and keep the anchors clear of the slab edges to avoid spalling. Paver patios are not a structural base; core through the pavers and set concrete piers or helical piles below the frost depth, then re-lay the pavers tight to the new post. Maintain patio slope at roughly 1/8 to 1/4 inch per foot away from the house so water does not pool under furniture. For attached pergolas, integrate a metal head flashing or rain diverter above the ledger to protect siding. If you want rain protection, consider polycarbonate panels above purlins, balancing their weight and heat buildup against airflow and openness.
Plan for maintenance on the day you choose materials. Western red cedar accepts stain well and can be cleaned and recoated periodically to resist UV graying. Pressure-treated pine needs to be thoroughly dried before finishing and benefits from penetrating sealers. Powder-coated aluminum avoids rot and frequent refinishing but can show scratches that need touch-up paint. Train vines like wisteria with caution because mature growth adds dead load and can trap moisture against rafters. In snowy regions, remove fabric canopies before storms and sweep accumulated snow from purlins to prevent creep. A quick rinse of salt spray or pollen, along with a seasonal hardware check, will extend the life of connectors and finishes.
Good pergolas start with clear priorities. Decide when and where you want shade, commit to safe clearances and setbacks, and design a structure that carries loads to solid ground without inviting water into the house. Sketch the footprint to scale, lay out rafters in the direction that blocks your harshest sun, and test post positions with string before digging. If your site presents challenges such as brittle stucco, clay soil, or recurring high winds, a brief consultation with a local pro can save time and rework. Thoughtful placement and sizing will make the pergola a useful, low-drama part of daily life for many seasons to come.